For millennia, the night sky has enchanted humanity. Captivated by the twinkling of a bespeckled ocean above, our ancestors before us and our progeny long after us have found and will continue to find an innate fascination with its apparent timeless and sheer magnitude. Regardless of our social, ideological, and geographical differences, we all essentially live under the same, all-encompassing celestial canopy, likely the most humbling of the commonalities we share. The night sky has also done more than simply provide a cosmic canvas for the painting of myths and legends of the ancients; it has served as a steadfast guide and unchanging map for the most pioneering of explorers and wanderers navigating a virgin Earth. Yet for most, simply its beauty is enough to make it worthy of praise. And living in the 21st century, we are fortunate to posses the capability to capture such elegance.
With my allure for the night sky and my love of photography, I've chosen to compose a basic guide to the art of photographing the night sky, based on my father’s advice, online research, and experimentation. I am by no means an expert in this field and writing this post after only a few practice sessions has been just as much of a learning experience for me and it will likely be for you. I hope you’ll find it useful, particularly on your next adventure, whether foreign or local. Please feel free to comment should you find other settings or know of alternative tips that will lead to phenomenal shots!
Opening Note: The photos in this post were taken on my trip to Joshua Tree National Park in Southern California. It was my first time formally trying astrophotography, using a Pentax K200D (CCD crop sensor, 10.2 megapixel resolution, 55mm stock lens). It should be said that no two cameras are alike and that some settings will work better than others depending on the camera used. This is merely to serve as a stepping stone to your future experimentation.
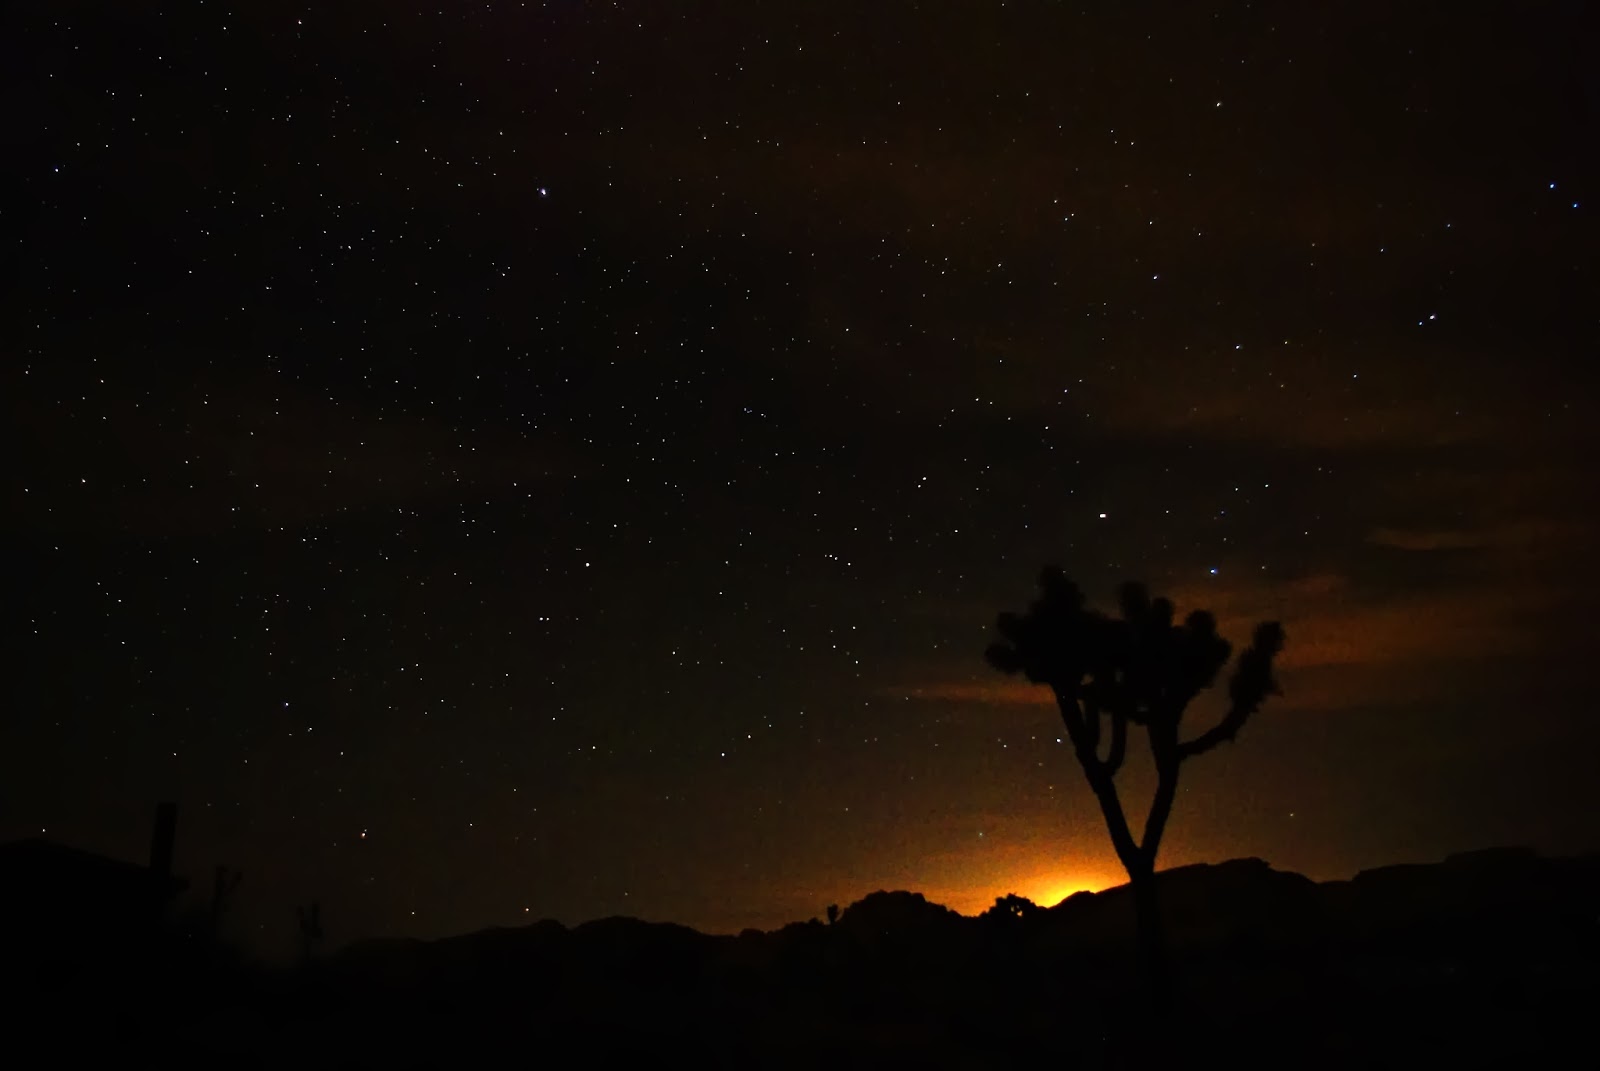 |
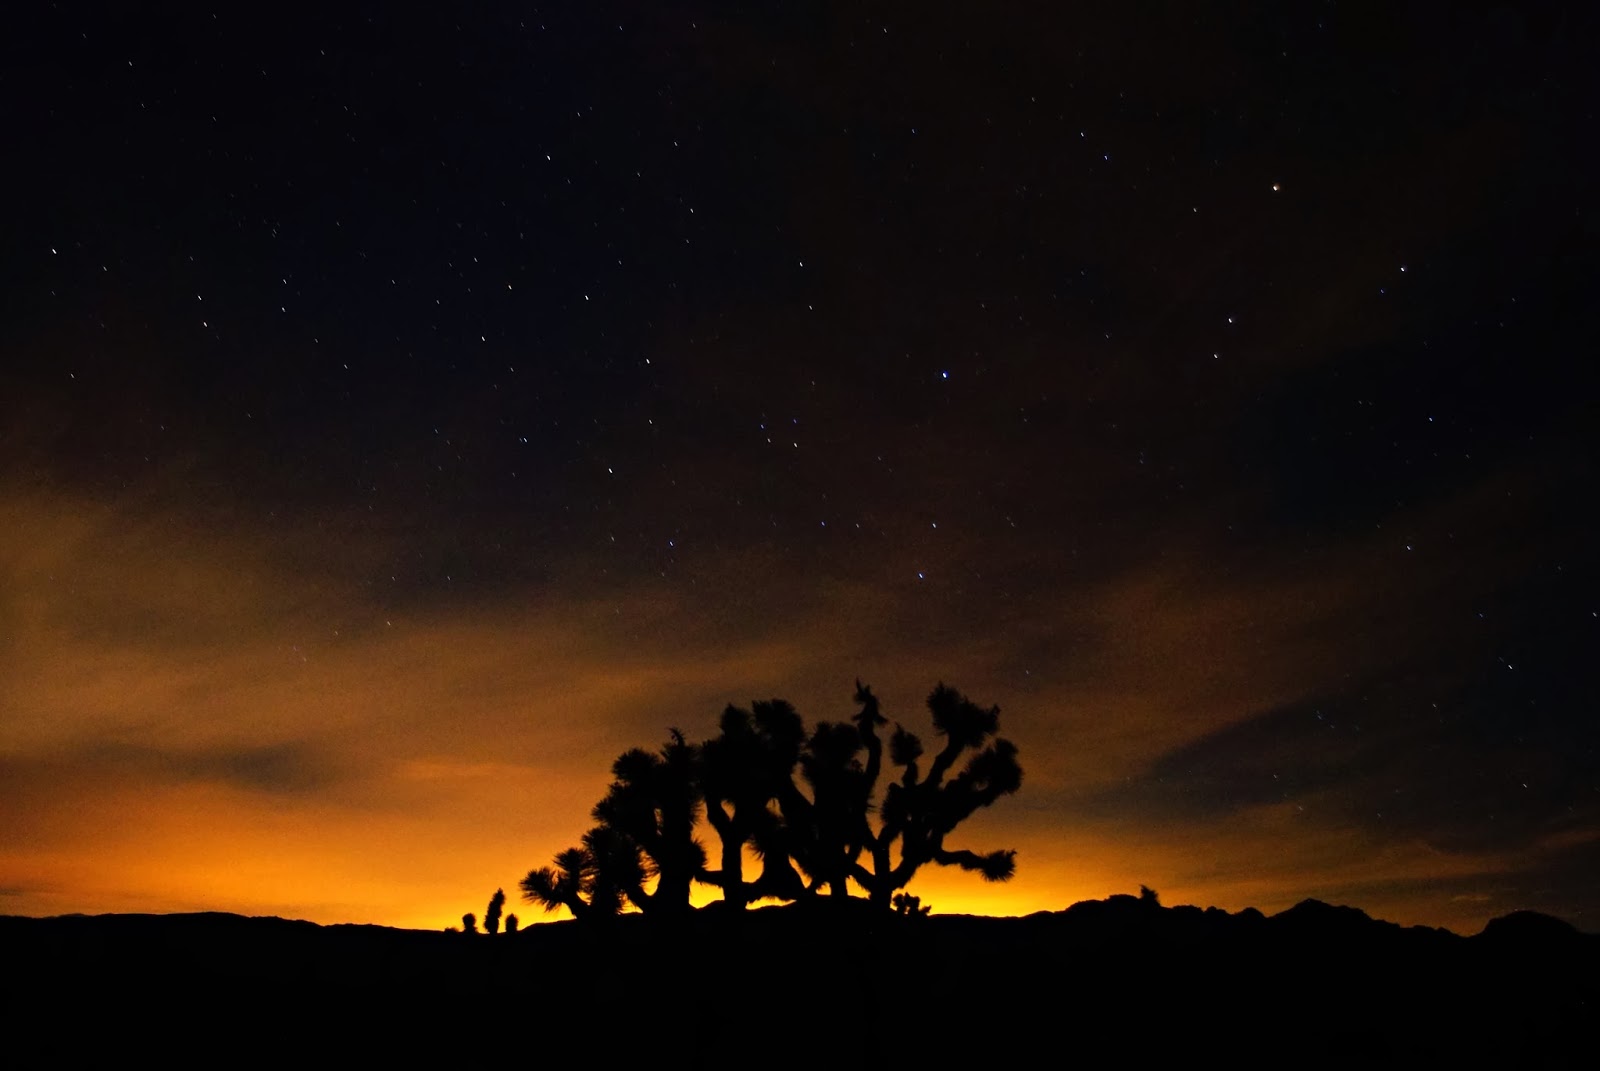
| [f/3.5, 30sec, ISO 800] - Light pollution on the horizon can detract from stars, but still make for an interesting shot |
General Steps & Explanations:
Ideally, you’ll need a camera with a large image sensor for a greater dynamic range.
- A DSLR camera or “prosumer” grade camera that allows manual adjustments is most suitable for better quality shots.
Find a truly dark location away from light pollution, ideally on a cloudless, moonless night.
- Sometimes a dark night isn’t actually as “dark” as you might perceive with the naked eye. Longer exposures might pick up even distant city lights on the horizon.
- The best times to avoid a potential moon are generally in the darkest hours shortly after sunset and shortly before sunrise.
Your camera set-up must be stable and as still as possible, using the right settings.
- Mount on a tripod on stable ground, and use a short 2 sec timer or remote control to open the shutter and cut out camera shake when you snap a shot.
- Make sure you are using the Manual mode of your camera, along with manual focusing.
 |
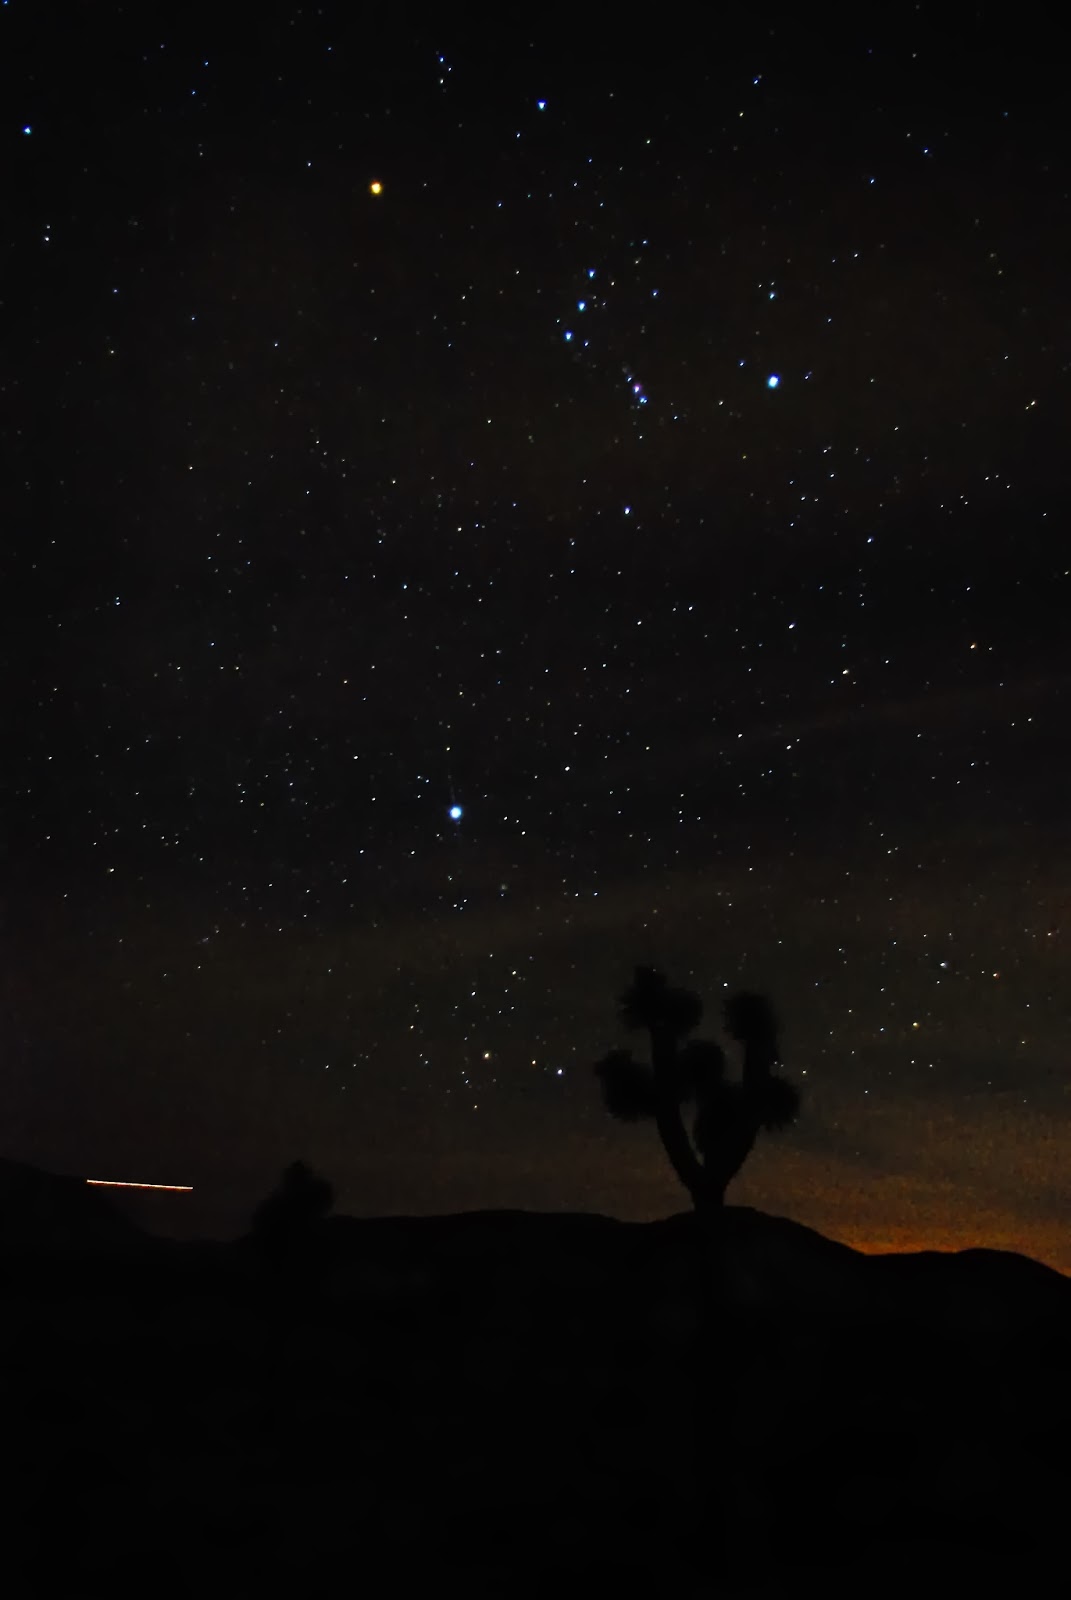
| [f/4.0, 15sec, ISO 400] - Not taken in full darkness, with faster shutter and lower ISO for clearer image |
 |
| [f/3.5, 30sec, ISO 800] - Taken with wider aperture, shower shutter, and higher ISO than above. Notice graininess. |
Ideally, you need a camera with a fast lens, which means one that has a very wide aperture setting.
- Aperture is labeled as a ratio on the lens (1:3.5 - 5.6) and an F-stop number in the programming (F/3.5). The smaller the number, the larger the aperture.
- Set your camera’s aperture to its widest setting (smallest number).
Use a slow shutter speed, which means a longer exposure, that doesn’t exceed the 600 Rule.
- The 600 Rule is based on the focal length of the lens you’re using, and will give you the maximum time you can expose your shot while theoretically avoiding “star trails” caused by the earth’s rotation.
- Focal length is labeled on the lens as a mm range (18-55mm), with the first number being the widest focal length of the lens and the second being the focal length at max telephoto.
- Divide 600 by the widest focal length (first number) to get the max exposure time (600/18 ~ 33 sec).
- It is more ideal to take your star shots without using zoom. For more crisper shots, use a more stringent rule like 500.
Adjust the sensitivity of the camera, or it’s ISO, to enhance the image brightness.
- You can’t actually change the camera’s sensor, but this will serve as a form of compensation.
- You ideally want the highest possible ISO without forfeiting image quality. You can start with 800 and work up to 1600 (standard for most DSLRs), but remember that the higher the ISO, the grainier the image.
 |
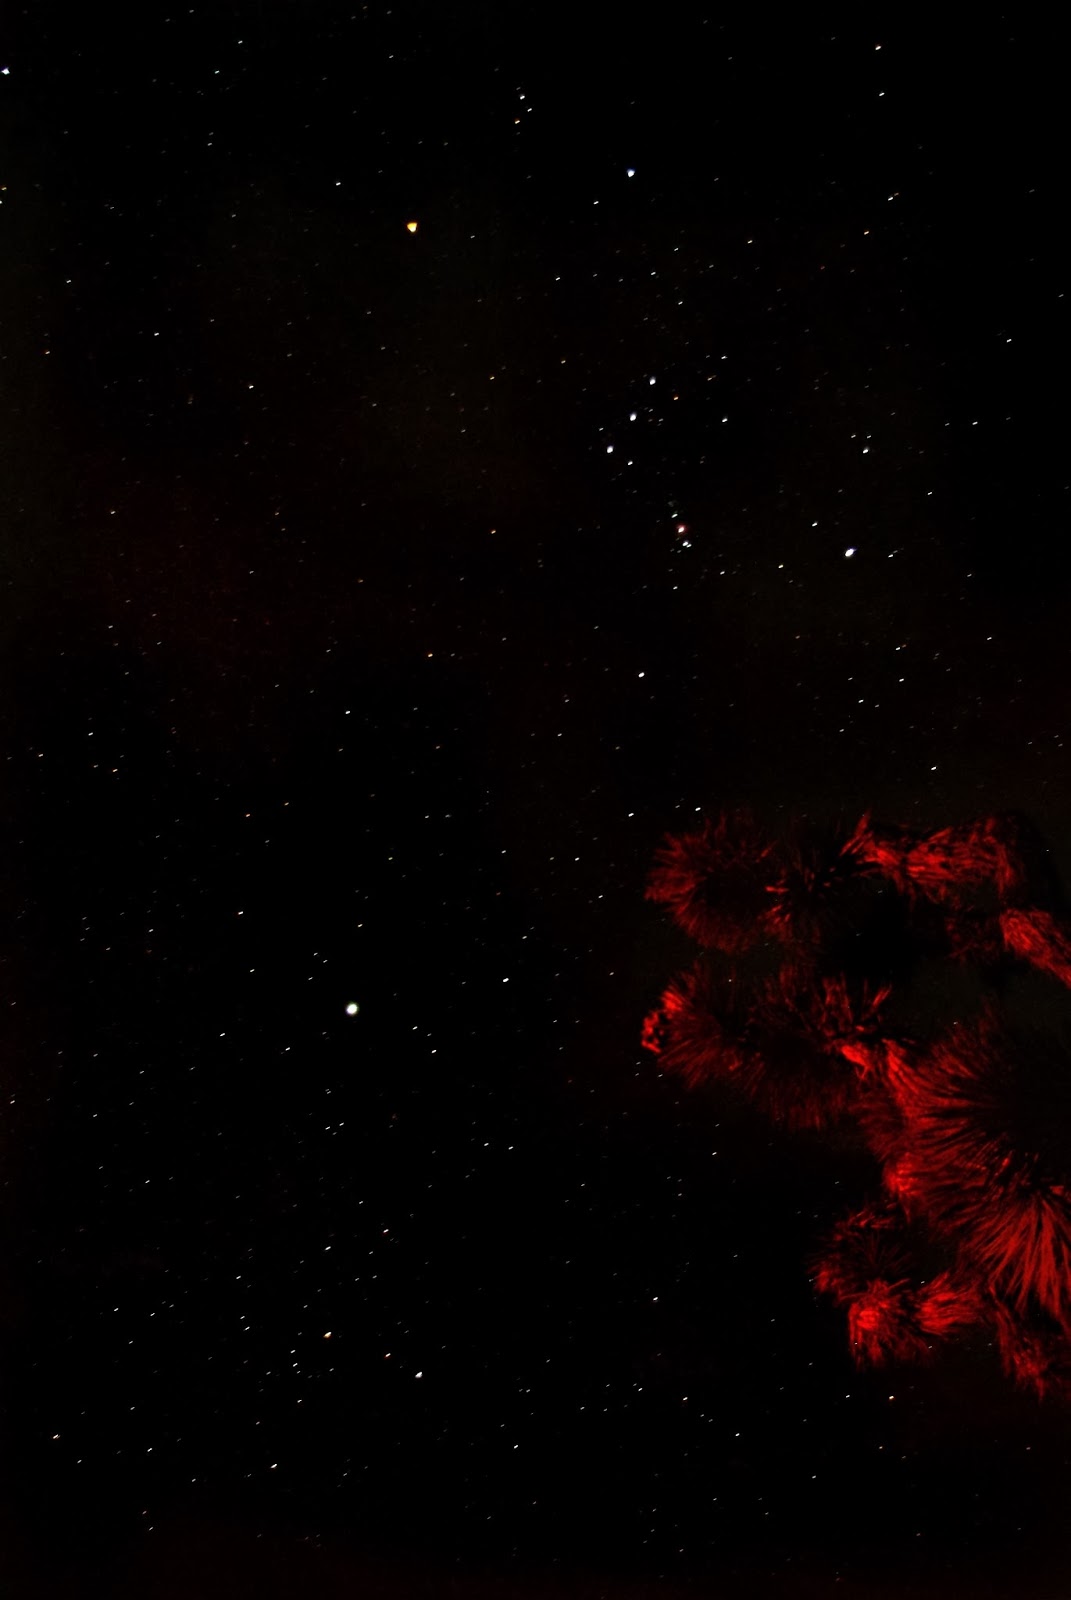
| [f/3.5, 20sec, ISO 1600] - Far more starlight detected, but forfeiting quality |
 |
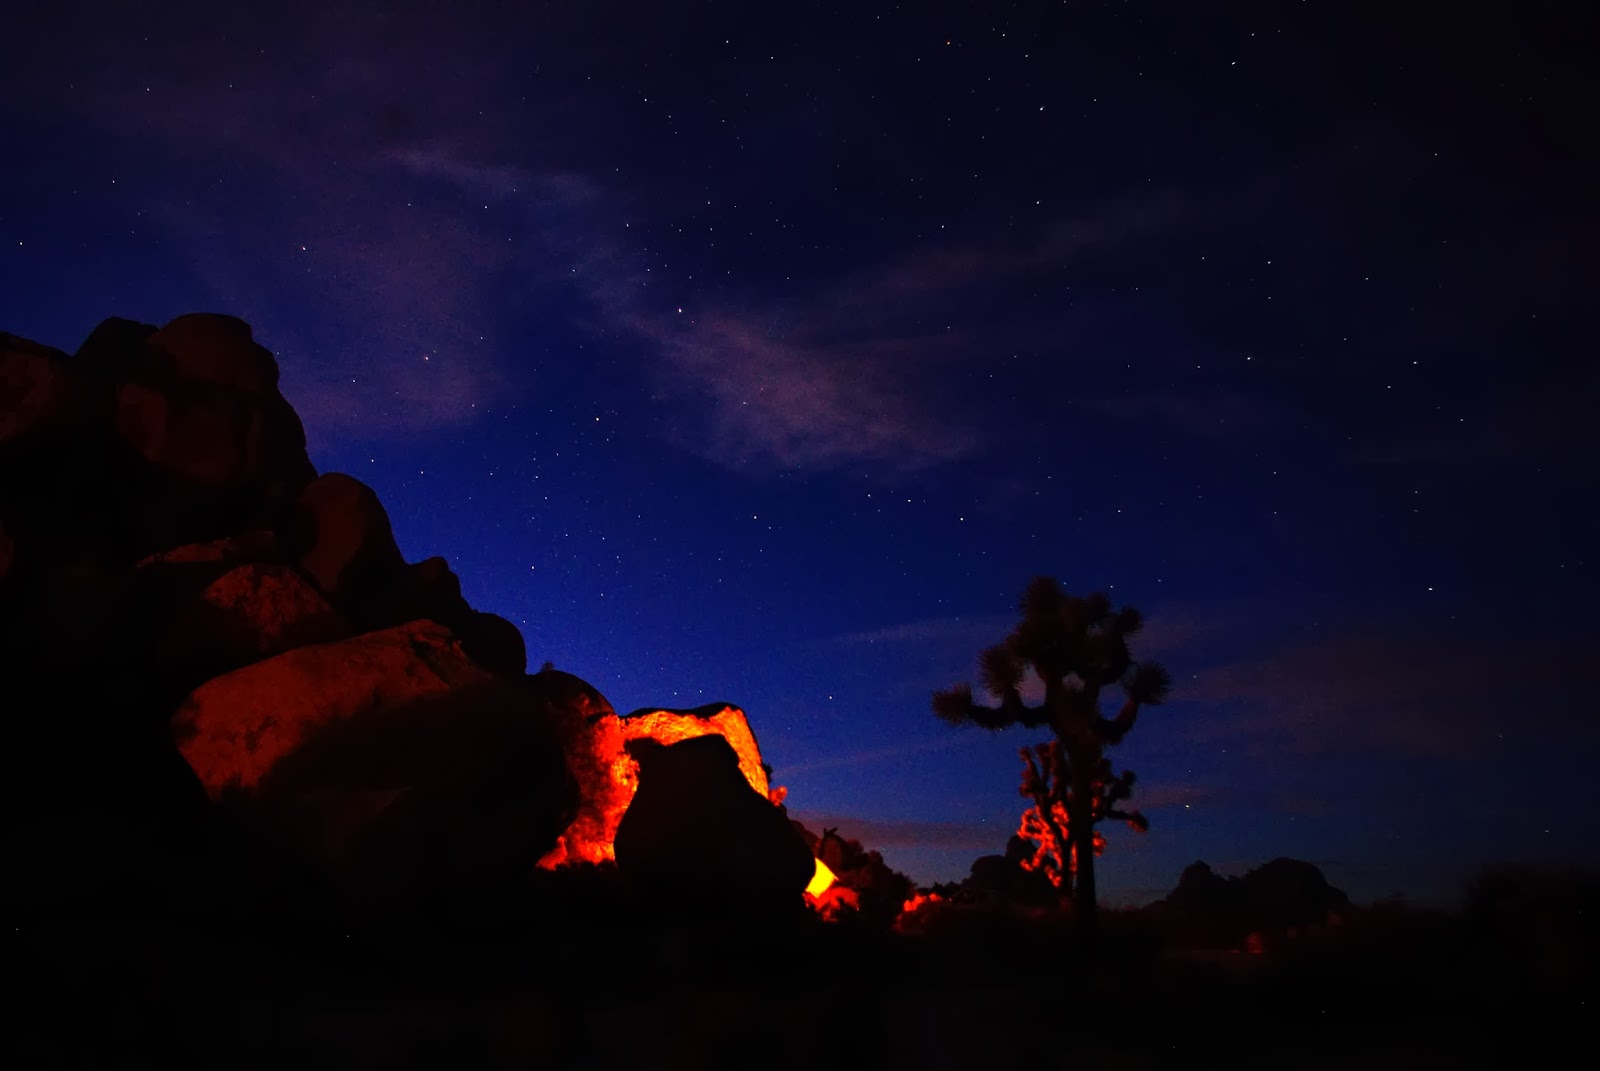
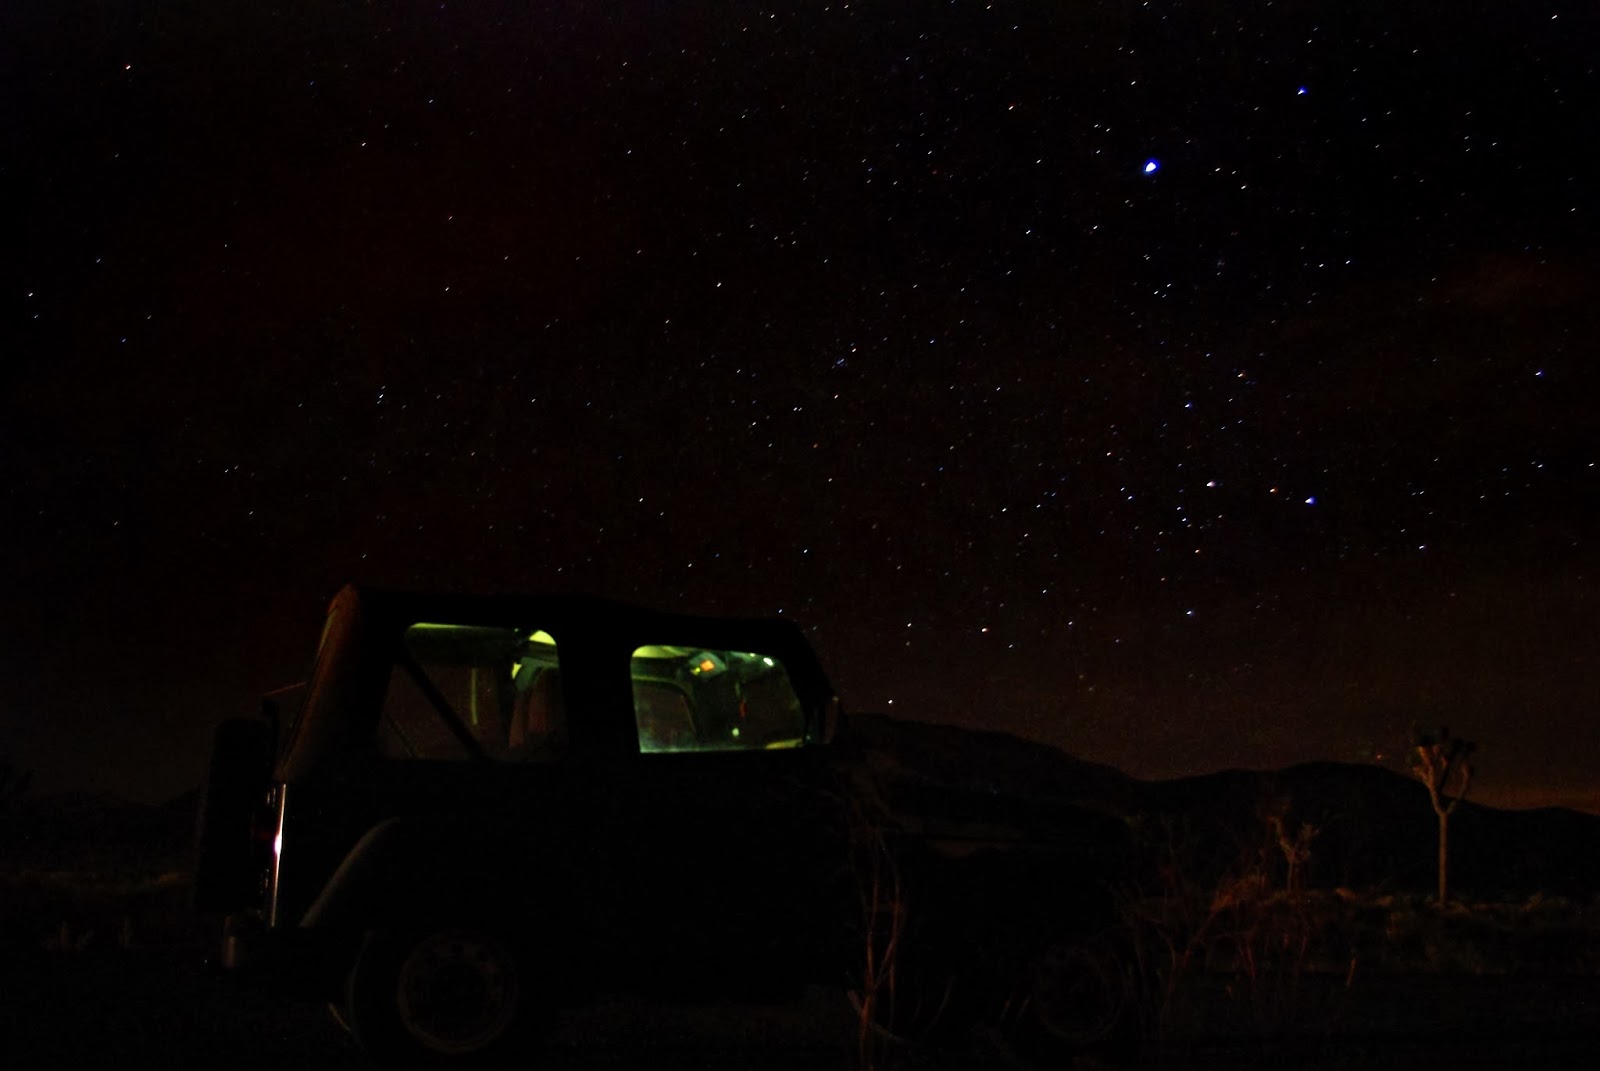
| [f/4.0, 30sec, ISO 800] - Briefly "painted" a tree with my Jeep's lights |
Adjust the camera’s white balance.
- You can technically get away with the standard “auto white balance” setting, although this tends to contribute to a more brown-colored sky, which gets worse if the night has some light pollution or dusty clouds.
- For a more appealing sky, set your white balance to tungsten.
Manually focus your camera to infinity focusing.
Now, start taking shots and experimenting with the different parameters!
- Typically, you’ll keep your aperture at its widest setting, but mess around with different combinations of exposure times and ISO settings.
- Start with a fast exposure (say 4 sec) and gradually double it to compare which gives the best image.
- Try experimenting with light painting, using a flashlight or other light source to illuminate foreground objects for several seconds during your exposure, if you don’t want to have a silhouette.
 |
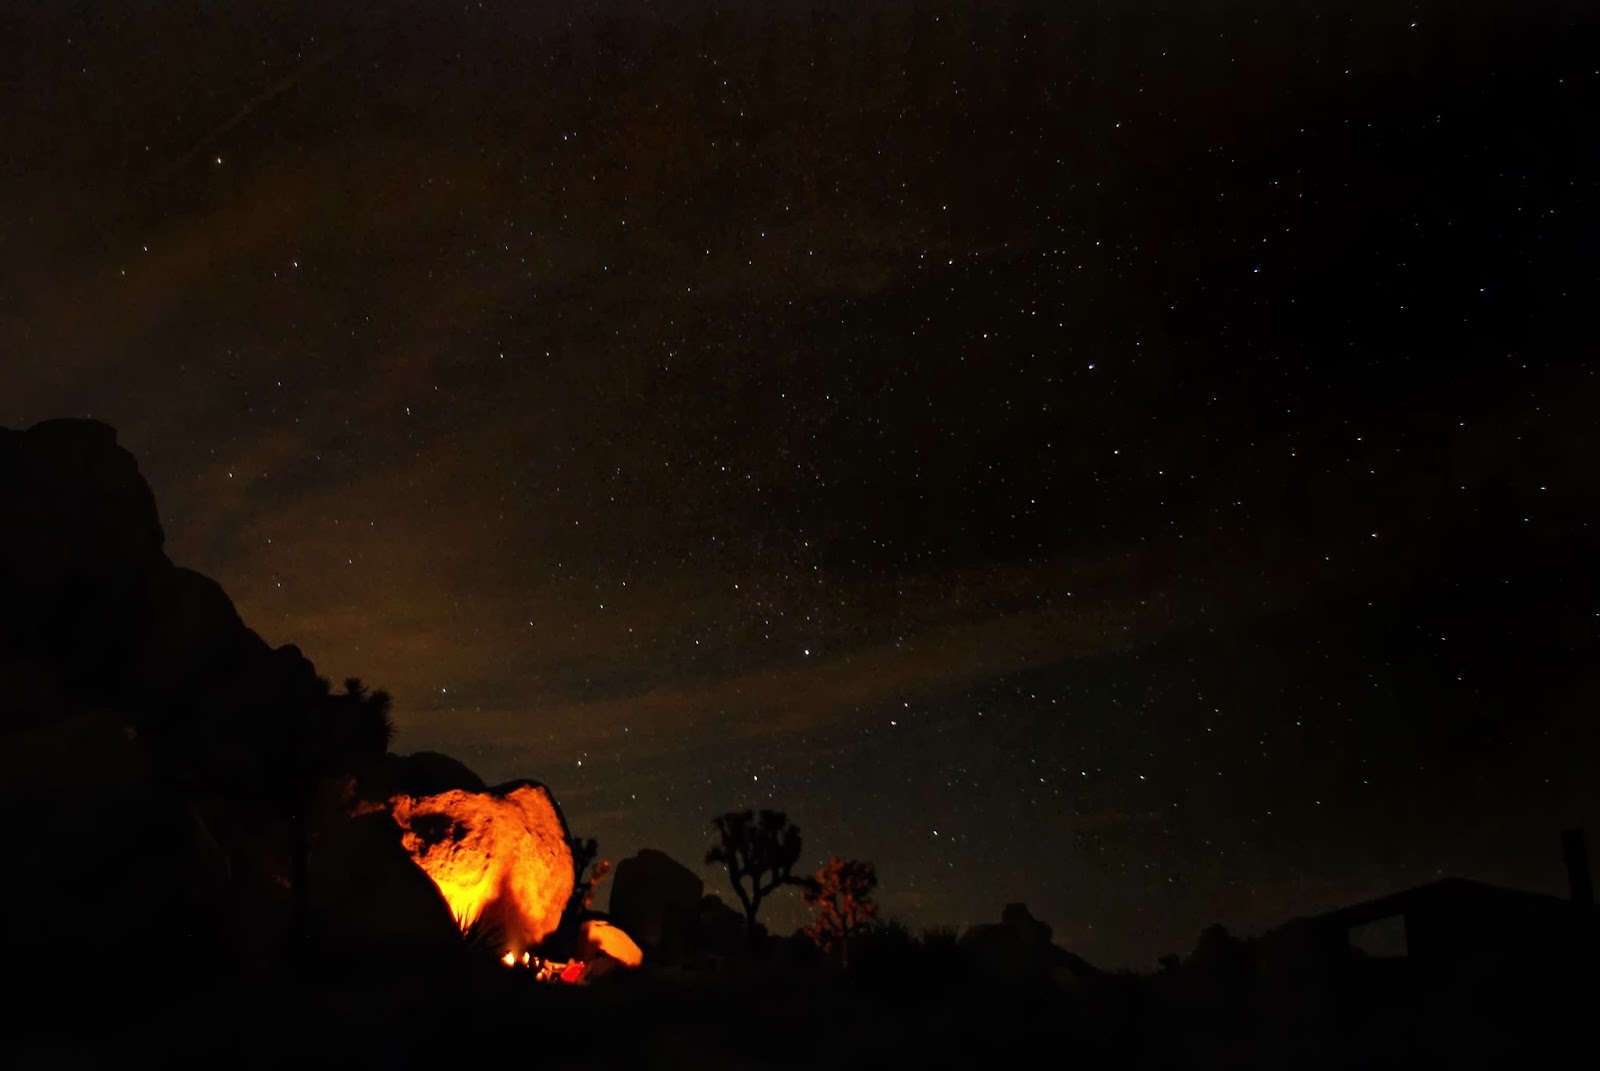
| [f/4.0, 30sec, ISO 800] - Considerable light pollution and cloudy, but still a neat effect |
 |
| [f/4.0, 30sec, ISO 800] - Jeep internally "painted" by stereo lights |
Closing Note: After reviewing my photos from this practice trip, I learned several things. First, to really bring out the vast number of stars, one needs to have zero light pollution and no clouds. While not visible to my naked eye at the time, I was quite surprised at how much ambient light was still present in the atmosphere near the horizon in Joshua Tree, likely from cities like Palm Springs. Together with a cloudy haze, this prevented me from capturing the starry sky's full potential.
Second, I would really like to get a camera with a bigger sensor and faster lens, for cleaner crisper images and to extract as much light as possible from the sky without having to bump up the ISO and detract from quality. It would also help in capturing the finer details of subjects like the Milky Way.
 |
| [f/3.5, 30sec, ISO 800] - Shot from the Sierra Foothills using Dad's Sony Nex-7, a "better" camera |
"We came whirling out of nothingness, scattering stars like dust... The stars made a circle and, in the center, we dance" -- Rumi

